
Today, I will show you how I usually apply my eyebrow pencil. I will post photos of how it looks like when I apply it alone and also when I top it with my Etude House Perfect Brow Kit.
More info and photos after the jump!
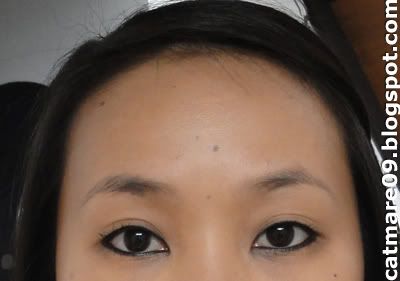
First off, here's how my bare brows look like. It's quite embarrassing because my eyebrows are almost invisible. lol. But for the sake of this post, I will show you so you'll see the difference. :)
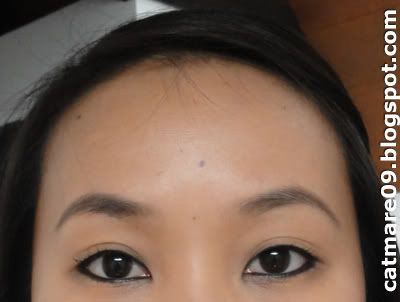
I usually prefer a natural look especially for everyday. Here on this second photo, using a light hand I applied Maybelline Eyebrow Pencil by Eyestudio on the sparse areas. Then I brushed my brows using the brow brush from my Etude House Perfect Brow Kit to help make it look more natural.
And lastly, I sometimes like to top my brow pencil with the dark shade from my Etude House Perfect Brow Kit. I think it helps make my brows look more defined. After applying the dark shade on top of the brow pencil, I brush it using the brow brush to make it look more natural.

So that's all. I hope this post somehow helped you and gave you an idea of how these brow pencil and kit would look when applied. Thanks for reading! :)


4 comments:
Wow, they look very natural =] nice job!
thank you for this tutorial dear! you did a really good job! your brows look so natural. :D
Lovely job!
Love
/S / http:// mydarlingsolitude.blogspot.com
♥
Yes i agree it really look natural on you.. :D
Just started following your blog sissy...
Post a Comment