Showing posts with label My Attempt. Show all posts

EOTD: Using NYX Smokey Look Kit (Part 2)

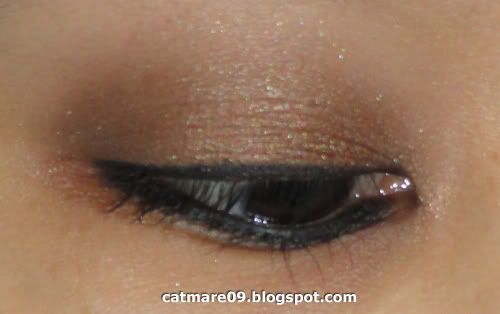
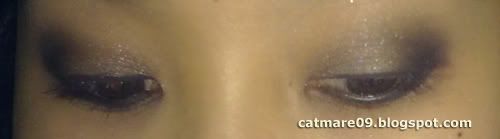
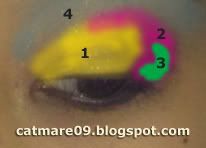
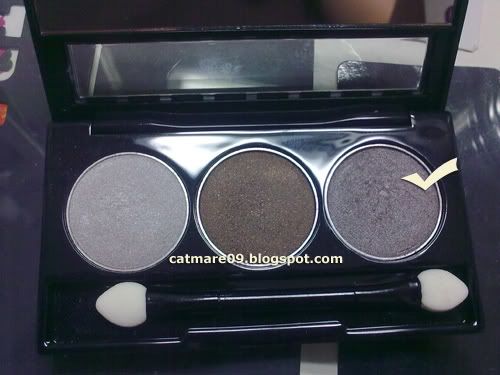
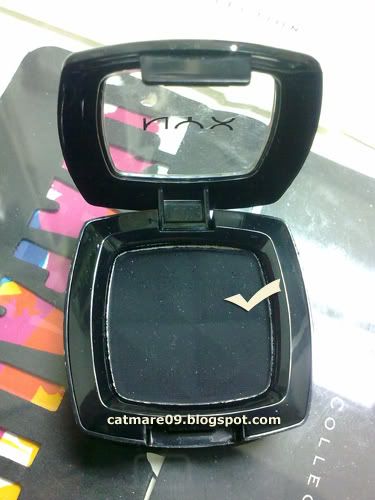
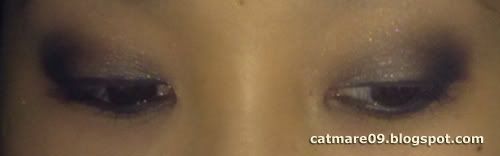
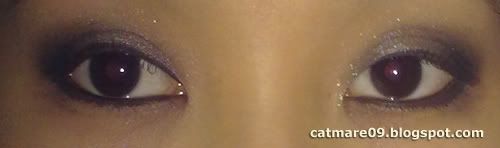
Here's another attempt in creating a smokey look from my NYX Smokey Look Kit. It's much darker compared to my previous look.


More photos and quick tutorial after the jump!

EOTD: Using NYX Smokey Look Kit (Part 1)

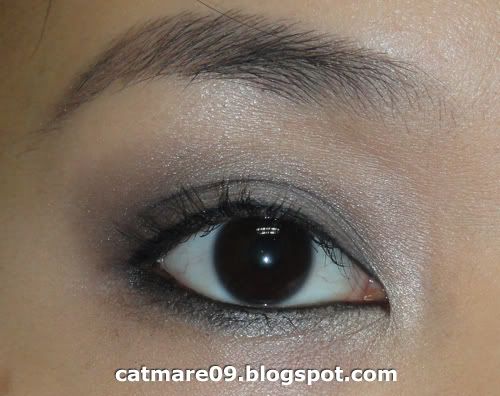
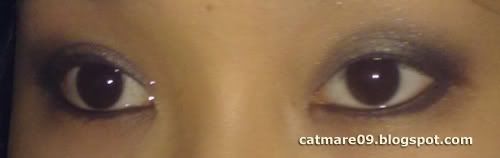
Here's my attempt in creating an eye look from my NYX Smokey Look Kit.


It's simple and easy. Read more after the jump!

EOTD: Smokey Blue

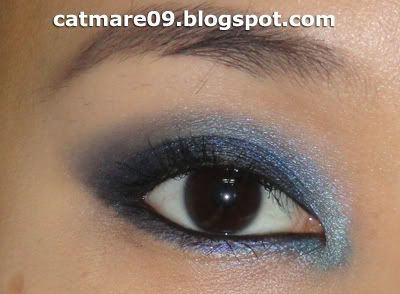
Hi everyone! I mentioned before, I am not really a makeup expert but I'm learning. A few days ago, I went and gathered my blue eyeshadows and decided to do a smokey blue look. I did a few attempts before but I never uploaded them because I always end up with a messy and fugly result. But with my recent experiment, I think I like how it turned out.

I'm hoping it's good enough to share. lol. I know it's not the best but I'm quite happy with the result. So, here it is!


More after the jump!


January wedding!

Ok wait! I didn't get married! It was actually my cousin's wedding last January. Anyway, I used to be worried about attending weddings and other formal occasions, because I'm usually worried of who will do my makeup. But about 2 years ago (if I'm not mistaken), at my friend's wedding, my passion for makeup began. At first, I wanted to get a makeup artist to do it for me. But the makeup artists I trusted the most were already booked. I was afraid to try out other artists that I didn't particularly know because I'm afraid that my makeup would look clowny.. It happened before and I definitely do not want it to happen again. So yeah, I thought I'd just do it myself. I was scared at first because I've never put an eyeshadow my entire life. I didn't know how and was afraid of it. lol. But I researched and watched Youtube gurus do it. And that's where it all began. I wouldn't say I'm an expert now but I can say I learned. I wouldn't say my makeup is perfect but I can say that I can now do it without being afraid. Of course, I am aware that I still have a lot to learn.. I was pretty excited about my cousin's wedding because I can do my makeup again. So I thought I'd share a photo of what I wore that day and how I did my makeup.

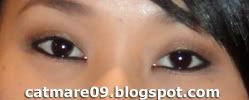
For my makeup, I didn't really do anything crazy, I just did a neutral look with deep red lips. I just redid my makeup for this closeup photo because I forgot to take one that day. :/


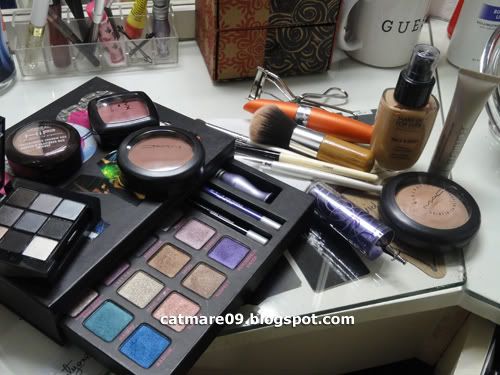
As far as I can remember, these are what I used that day. Everything except for the Etude brow kit and my gel liner, which I forgot to include.

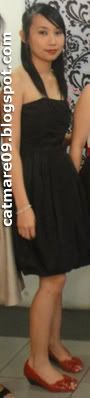
And here's what I wore that day. A black tube bubble dress and a pair of red peep toes. I love the colors black and red. I love matching them together. :)
I had to crop my friends away. lol.

And that's it. I hope you guys enjoyed this post. Happy Friday!

My Attempt: Smokey Concert Look

Okay, so I went to a concert last Saturday. It's a heavy metal concert so I thought I'd do a bit of a dark look. I have never worn a smokey look out of the house before so I was excited because it was my chance to wear one. So yep, I came up with this look. I think it's a bit neutral with a dark edgy feel to it. Simple and easy. =)

Sorry if the images are not that clear, I was using my cellphone as I was charging my digicam the time I finished my makeup. And I just completely forgot about taking a closer shot when I was out because of my excitement. lol.


How To


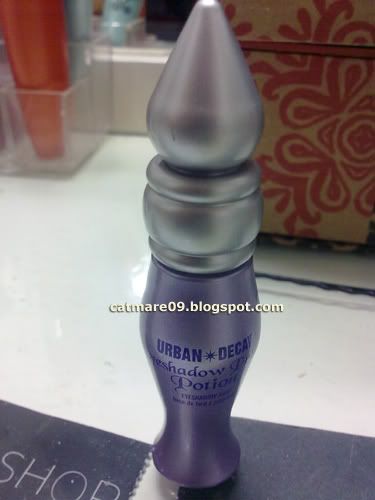
With a clean and moisturized face and eyes, I applied my Urban Decay Primer Potion on my lids to help make the eyeshadow last and give a better color payoff.

1.) Using my ELF eyeshadow brush, I applied NYX eyeshadow in Luster (neutral silvery taupe color) on about 3/4 of my lid starting from the inner corner.

2.) Using my ELF blending blush, I applied NYX eyeshadow in matte black and applied this on the outer corner of my lid, gently blending it in.

3.) Using my ELF Studio crease brush, I applied a more concentrated color of black on the outer corner to give more depth.

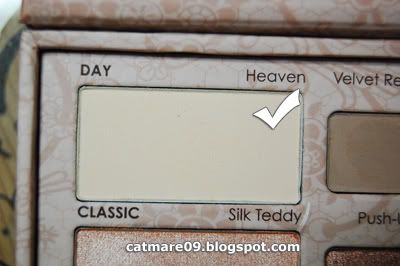
4.) I applied Heaven (matte cream color) from my Too Faced Neutral Palette as a highlight.

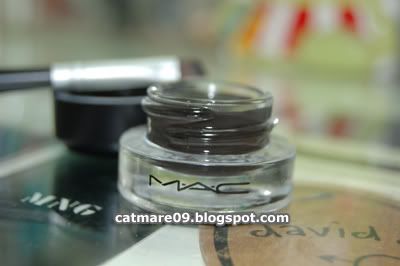
5.) I applied MAC fluidline in blacktrack on my upper and lower lashline instead of my regular everyday pencil eyeliner because this stays put longer and better.
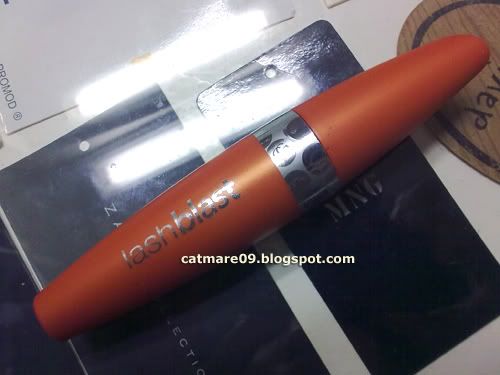
6.) And for my lashes, I applied Covergirl Lashblast in Very Black on both my upper and lower lashes.

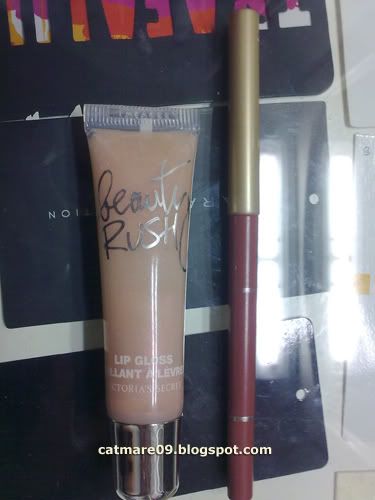
7.) I had neutral lips and I used Loreal's lip liner in neutral and topped it with Victoria's Secret Beauty Rush gloss in Slice of Heaven.

And the finished look

So there you go. I think it turned out well. And I also liked all the products I used, they stayed on pretty well for more than 8 hours plus all the sweat from the jumping and screaming during the show. lol. The concert was awesome! I had a great time!

So that's it. Thanks for reading! =)

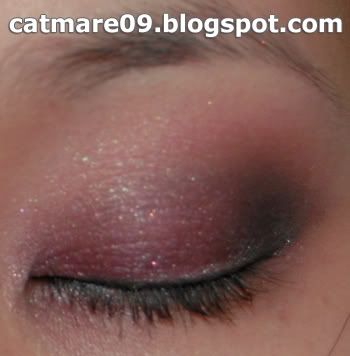
My Attempt: Burgundy Plum Smokey Eyes

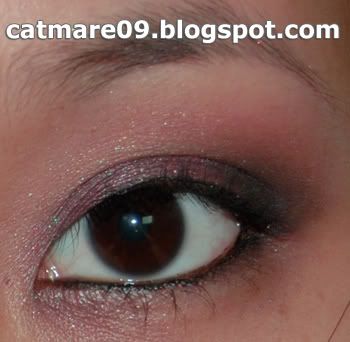
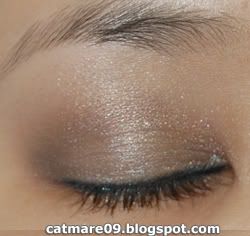
This is my first attempt to do an eye-makeup that is not neutral. I don't know if this is good enough. But I am quite happy with the result. =) The camera must've washed out the colors a bit because it didn't came out as vibrant as it's supposed to be. *sigh* But it's kinda close. Anyway here it is. Sorry if it's quite messy, I forgot to brush off the fallouts before taking a picture as I was in a hurry.


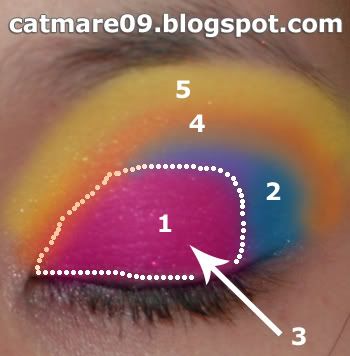
How I applied the eye makeup


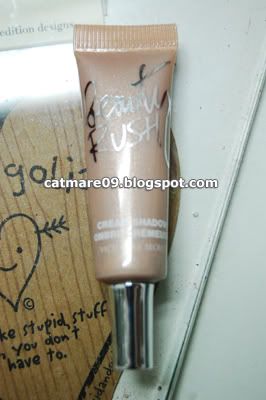
After applying Too Faced Shadow insurance (eye primer), I applied a cream eyeshadow on my lid.

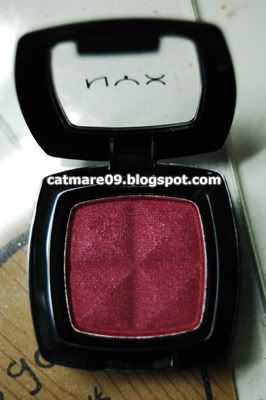
1.) I applied NYX eyeshadow in Burgundy Pearl on about 3/4 of my lid (starting from the inner corner) using my ELF eyeshadow brush.

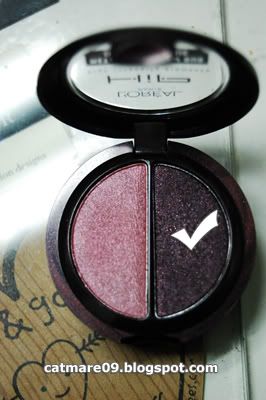
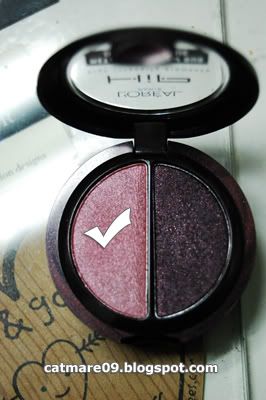
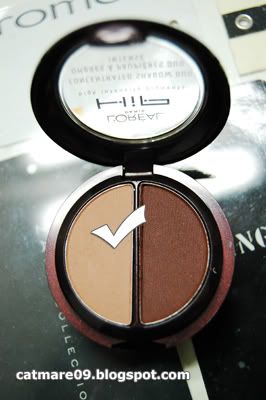
2.) Using my fluffy NYX crease brush, I applied the deep dark plum shade from Loreal's HIP Duo in Sculpted on the outer part of my lid gently belnding it inwards and on my crease.

3.) Using the same brush and shade, I slightly dabbed the brush over the Burgundy Pearl color that I have applied on Step 1. Just to make the shade darker, but still leaving a hint of bright burgundy under it.

4.) Using my ELF blending brush, I applied the rosey plum color of Loreal's Hip Duo in Sculpted on the upper part of my crease blending it over the deep dark plum color I applied on Step 2.

5.) And for the highlight, I used my ELF blending brush and applied the color Heaven (matte cream) from the Too Faced Neutral Natural Eyeshadow Palette.

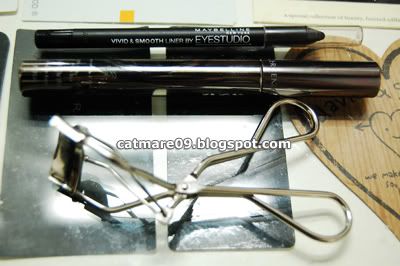
I applied some Maybelline Smooth & Vivid Eyeliner in Black on my upper and lower lashline. Then I curled my lashes and applied VMV Hypoallergenics Ooh-la-lash mascara.


Here are the brushes I used. Except for the crease brush, please ignore it. I didn't use it. I made a mistake in the pic, and I'm just too lazy to take another shot. lol.

So that's it. I would be very glad to receive comments or suggestions. I am new with the whole eyeshadow thing and I would love to learn from you guys. Thank you =)

My Attempt: Neutral Taupe Eyes

One of the reason behind this blog is for me to experiment and explore along with other makeup newbies and to be able to learn from others. So please forgive me if it's not that good, as I am new with makeup... The thing is, I don't even put eyeshadows on a daily basis. But I started to love experimenting and playing with the colors. And just a few days ago, I finally got some of the stuff I've been lemming for sooo long! I wanted to do a haul post about them but I got lazy lol. Maybe sometime soon, or I could just do a review and swatch them... Anyways, I got so excited to try them out, and this is one of the looks I was able to put together.

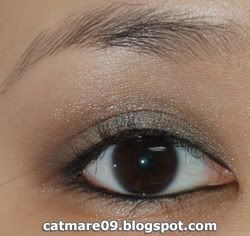
Here it is! It's very simple. But I really liked how it looked on me.

To create the look

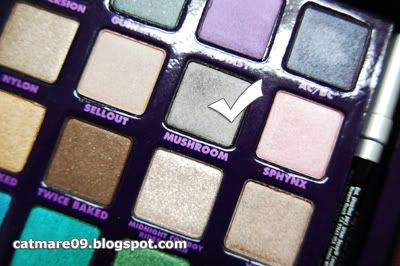
1.) Using my ELF eyeshadow brush. I took the color Mushroom (shimmery taupey-gunmetal) from the Urban Decay Book of Shadows Vol 2 and applied it on around about 3/4 area of my lid.

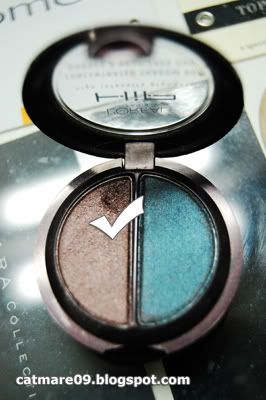
2.) Using my ELF Studio contour brush. I got the nice shimmery brown taupe (with a hint of plum color) from Loreal's Hip Duo in Sassy. I applied this color on my crease area gently blending it with the Mushroom e/s.


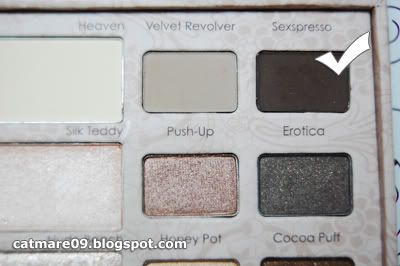
3.) Because most of the colors I have used are shimmery, I got the color Sexpresso (matte deep brown) from the Too Faced Natural Eye Neutral Eyeshadow. And applied it on the outer crease area of my lid using my Essence of Beauty contour brush.
4.) Taking the natural beige color ( from the Loreal Hip Duo in Shady) that matches my skin, I applied and blended the color on the upper area of my crease to smoothen the harsh edges.


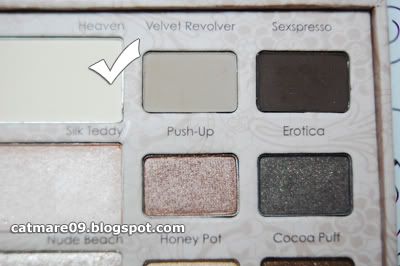
5.) For my brow bone area, I used my ELF eyeshadow brush and I applied the color Heaven (a matte ivory) from the Too Faced Natural Eye Neutral Eyeshadow Palette.

5.) I applied my black Maybelline Smooth & Vivid eyeliner on my upper and lower lashline. I curled my lashes and applied VMV Hypoallergenics Ooh-la-lash Mascara in black.


I don't know if I did it right. Sometimes I get so frustrated trying to blend the colors because sometimes it would end up looking like mud... But I just got my ELF blending brush and I think it helps cos it seems like somehow the colors are blended better than before.

Anyway before I end this post, I have one question for you all. Is it really like "a must" to apply some highlight on the inner corner of your eyes? I've trying to do it but it just looks weird on me. I don't know why. Maybe I'm just not doing it right.

So that's it! Hope you enjoyed this post =)

The Eyeliner Experiment

So how good is an eyeshadow primer in helping your eyeliner from smearing?
I never really knew the answer until I tried it myself. I say (based on my experience), it does help more than setting my eyeliner pencil with a matching eyeshadow...

Just a little background:
  • The skin around my eye area is normal (I think). But it tends to be a little oily in a hot weather and sometimes it tends to be a dry in a cold weather.
  • I live in a hot and humid weather.
  • No problem with eyeliner smudging on my upper lash line. But the smearing under my lower lash line, especially the ones on the outer corner is just CRAZY.
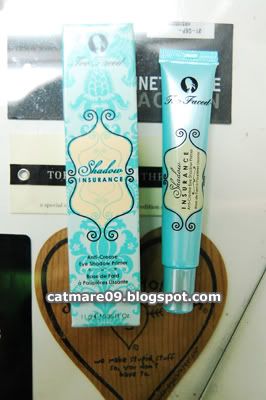
I am currently using Too Faced Shadow Insurance, my first and the only eyeshadow primer that i have ever used so I can't compare to other similar products. I decided to get this over Urban Decay Shadow Primer because I heard UDPP tends to make the skin a little too dry. My eye area does get dry sometimes so I would stay away from something that would make it drier.. One more reason why I chose TFSI is because of the packaging. TFSI is more hygienic and no problem with finishing the product because of the tube packaging. Just squeeze. While I heard a lot of people where having a problem with UDPP trying to get all the product from it because of how the bottle is shaped. A lot of left-overs inside so you're gonna have to cut the bottle to finish it all up. Although, I think now UDPP has released it with a new wand which I suppose would help you get more product from the bottle.

Anyway, on with the experiment. Here's how it went.

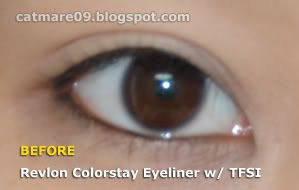
1.) The Revlon Colorstay w/o Too Faced Shadow Insurance experiment

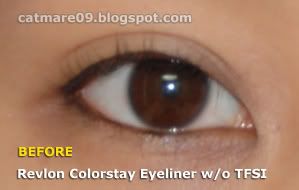
Below is the BEFORE picture. I took it right after I have applied Revlon Colorstay Eyeliner Pencil on both my upper and lower lash line. No Too Faced Shadow Insurance was applied.

Approximately after 6 hours, here's the result. I did a couple of touch-ups throughout the day. No problem with the upper lash line. But see the lower lash line, especially the one on the outer corner. It bled and smudged. And it's gross. =( I wasn't able to do some touch-up before I took the picture so as you can see, the eyeliner's almost faded on my waterline.

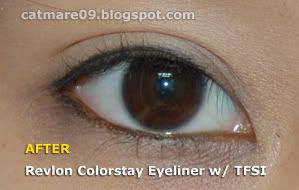
2.) The Revlon Colorstay w/ Too Faced Shadow Insurance experiment

Using a tiny dot of Too Faced Shadow Insurance for both my lower lash line.

Below is the BEFORE picture. I applied TFSI under my lower lash line and used Revlon Colorstay Eyeliner Pencil on both my upper and lower lash line.

Approximately after 6 hours, here's the result. I did a couple of touch-ups throughout the day. No problem with the upper lash line. The lower lash line do not appear as gross as the first experiment. Although, you would notice there's a little bit of darkening on the lower lash line. There were also a bit of black specks which I accidentally removed before I got home (I just suddenly forgot about the whole experiment I'm doing). I don't know if that came from my eyeliner or my mascara, but I'm guessing it's the mascara. I did some touch up before I took the pic so you'll notice it's not as faded as the first experiment. And also, I noticed that sometimes the outer corner tends to get darker than the one below. I don't know, I guess it depends on how long you wear it and how hot/humid the weather is.


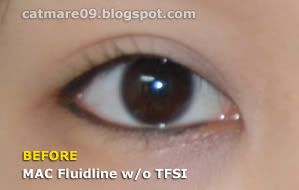
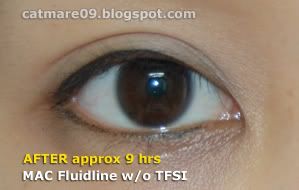
3.) The MAC Fluidline w/o Too Faced Shadow Insurance experiment

Below is the BEFORE picture. I used MAC Fluidline in blacktrack as my eyeliner without the use of Too Faced Shadow Insurance.

Approximately after 9 hours, here's the result. No touch ups was made throughout the day. It did fade, but you can still see it on my waterline which is good. Pencils don't stay that long. You will also notice a slight darkening on my lower line especially on the outer corner part. Almost unnoticeable.

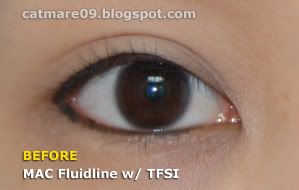
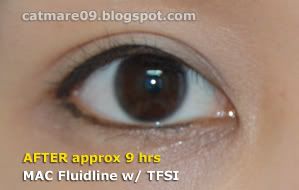
4.) The MAC Fluidline w/ Too Faced Shadow Insurance experiment

Below is the BEFORE picture. I used MAC Fluidline in blacktrack as my eyeliner. I used Too Faced Shadow Insurance. A small dot of TFSI is enough for both lower lash line.

Approximately after 9 hours, , 's the result. No touch ups was made throughout the day. Can you even tell the difference from the BEFORE picture? Yes it might have faded a little bit but it didn't smudge, and there's no darkening. Maybe a little but I don't even notice it.

Note: I know a lot are saying that using MAC Fluidline on your waterline may not be safe. But I have tried it a couple of times and it didn't irritate my eyes or anything. So it's up to you guys if you would want to use it on your waterline or not. I'm also quite hesitant about it but I just tend to give in. Because it stays and it doesn't even budge... But I guess I'll probably be just using this occassionally like when I know I'd really be needing some staying power.


So that's all. Thanks for reading. Hope you enjoyed this post. I'm quite busy these days with a lot of things. =( Hopefully I could post more soon.

How to keep your eyeliner from smudging

Eyeliner is probably my favorite makeup product ever. My very first eyeliner was an Elizabeth Arden. It had been stored in my drawer for quite a while before I finally found myself wanting to use it. The first time I used it, I only applied it on my waterline. I didn't put any on my upper lash line. Because I didn't know that I had to. But I was already satisfied with the look, it already made a difference. And I knew my eyes looked better. Of course, time came when I found out that I also had to put some eyeliner on my upper lash line. So yeah, that made the look even better. It opened up and enhanced the look of my eyes even more. =)

Yes I loved it. But I had one major dilemma, it smudged like crazy! I had no problem with my upper lash line from smudging. But the outer corner of my lower lash line smudged on me like there's no tomorrow. It's so annoying! I tried other eyeliners. As far as I can remember I think I used one from The Face Shop and it still smudged a lot. Until I went on and googled (always remember that google is your friend) for reviews and found out about Revlon Colorstay. I got it, tried it and I did see an improvement. Although I must admit, it still smudged. But not as much as the other eyeliners I've tried. So one thing I could advice, look and research for a good smudge-proof eyeliner.

The thing is, no matter how smudge-proof or water resistant your eyeliner is, there's still a possibility for it to smudge especially if you live in a hot and humid weather. But if you don't want to give up like me and you want to keep on trying some ways to keep it from smudging, then maybe you might want to try some of these things I've learned and tried.

1.) Look for a good eyeliner - A good eyeliner doesn't have to be anything expensive. There are good cheap brands that carries good eyeliners. As much as possible, try not to purchase on impulse. Do a research about the product you want to try and read reviews. Ask people you know that might've tried them. And see what they think about it.

2.) Use an eyeshadow to set your eyeliner. Line your lash line with your favorite pencil eyeliner, then set it with a matching eyeshadow. This will help soak up the oils and somehow help prevent the smudging.

3.) Your powder or powder foundation is wonderful for blotting the oils on your eye area. So when you feel like you need to retouch, do so. Carefully blot around your eye area to help absorb the oils.

4.) Use a good eye primer like Too Faced Shadow Insurance or Urban Decay Primer Potion. I am using the one from Too Faced. I know it's real purpose is to avoid eyeshadow creasing, but I put it on my lower lash line focusing on the outer corner. And it works so well. It did help keep my eyeliner from melting. I can actually see a big difference. Although, it still does smudge a tinsy bit sometimes. I think I see a little darkness on the outer corner but not really anything crazy. That's around after 6-7 hours if I'm not mistaken. I guess it still depends on how long you wear your eyeliner.

5.) If all else fail, try using other types of eyeliners.
  • Liquid eyeliner - Pick a good liquid eyeliner. They won't budge at all. But they're only meant to be used on the upper lash line. So if you're having problems with smudging on your upper lash line, try using a liquid liner.
  • MAC Fluidline Gel Liner - LOVE! I would def suggest this one. I have used this a couple of times and I love it. It could be used on both upper and lower lash line. I even have it on my waterline. And yes, it doesn't melt. The color on my lower lash line fades a little at the end of the day, though. But still, it didn't smudge like a pencil eyeliner would. And I didn't even apply the Too Faced Shadow Insurance, how much better if I did?.. I did see a little bit of darkening on the outer lower corner of my lash line though, but it was not too visible. And that was after 6-7 hours I think (Gah I'm not sure). Anyway the only con is that it takes a little time to apply especially when you're new with this whole brush application method. And also, it's kind of a hassle to bring along your jar of gel liner and eyeliner brush for touch-ups.. But no matter what, MAC fluidline is current my fave!

Sorry bout the time length, I'm not quite sure. But I will note the # of hours next time and I will do an update... That's it for now, hope I helped! =)
Related Posts Plugin for WordPress, Blogger...